Preparation: 10 minutes
Fermentation: 1 – 12 months
Quantity: 1 cup (Note: the recipe works 1:1 for more or less of the ferment, adjust the quantities of honey & garlic accordingly)
Ingredients:
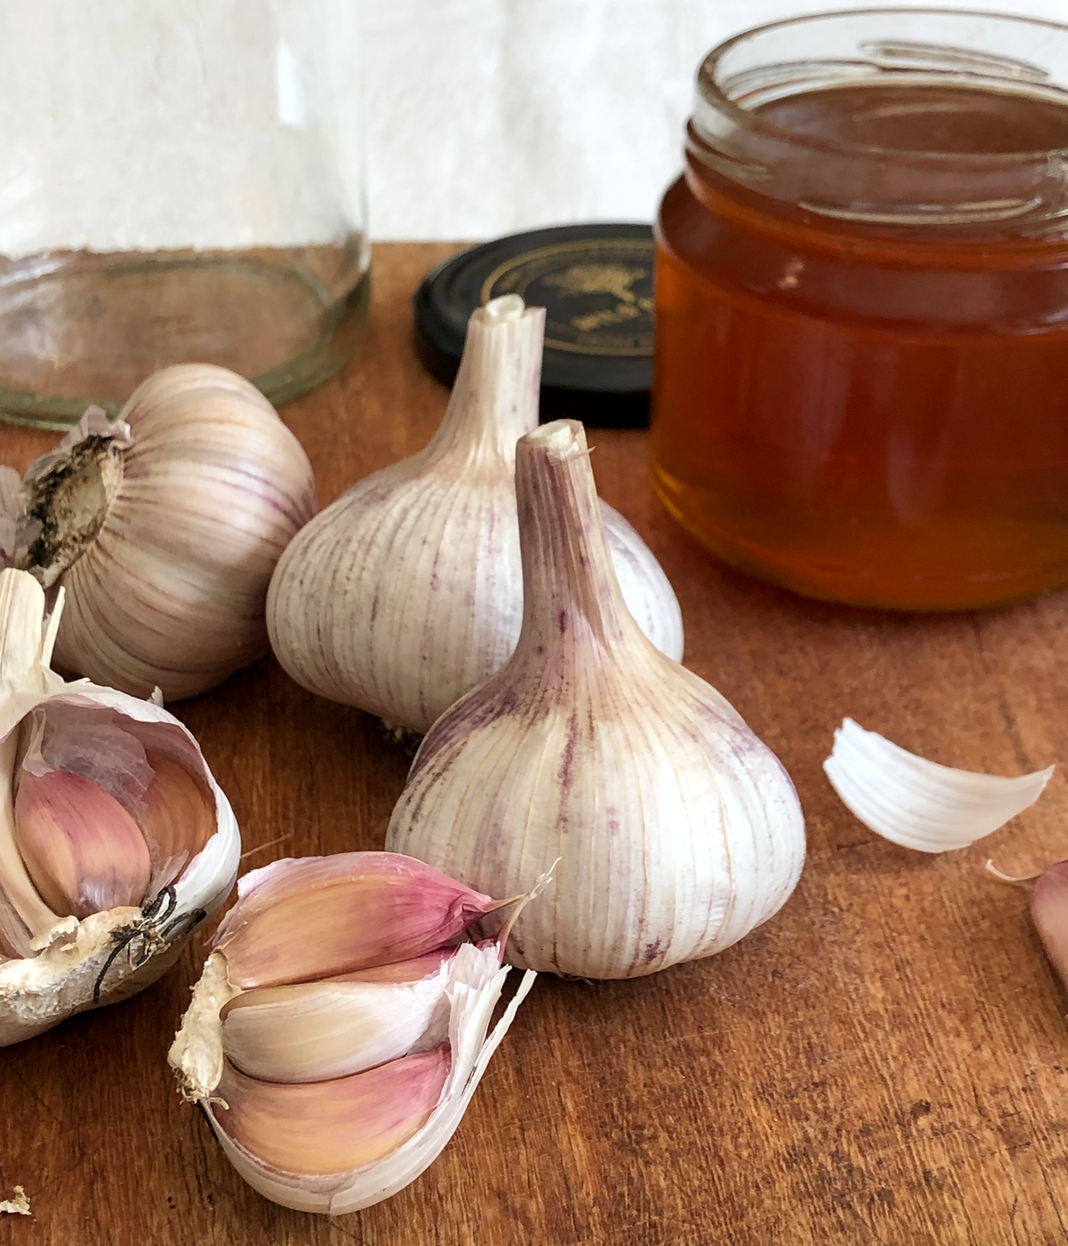
- 1 cup of peeled fresh, local (preferably organic) garlic cloves i.e. the best you can find.
- 1 cup raw, unfiltered local honey, manuka works especially well.
- 1 tsp apple cider vinegar (optional)
Directions:
- Peel garlic cloves. Slightly crush / bruise to help activate even more medicinal qualities.
- Add to a glass jar with a lid (large enough to fill half way). This allows room for the fermentation process i.e. gas.
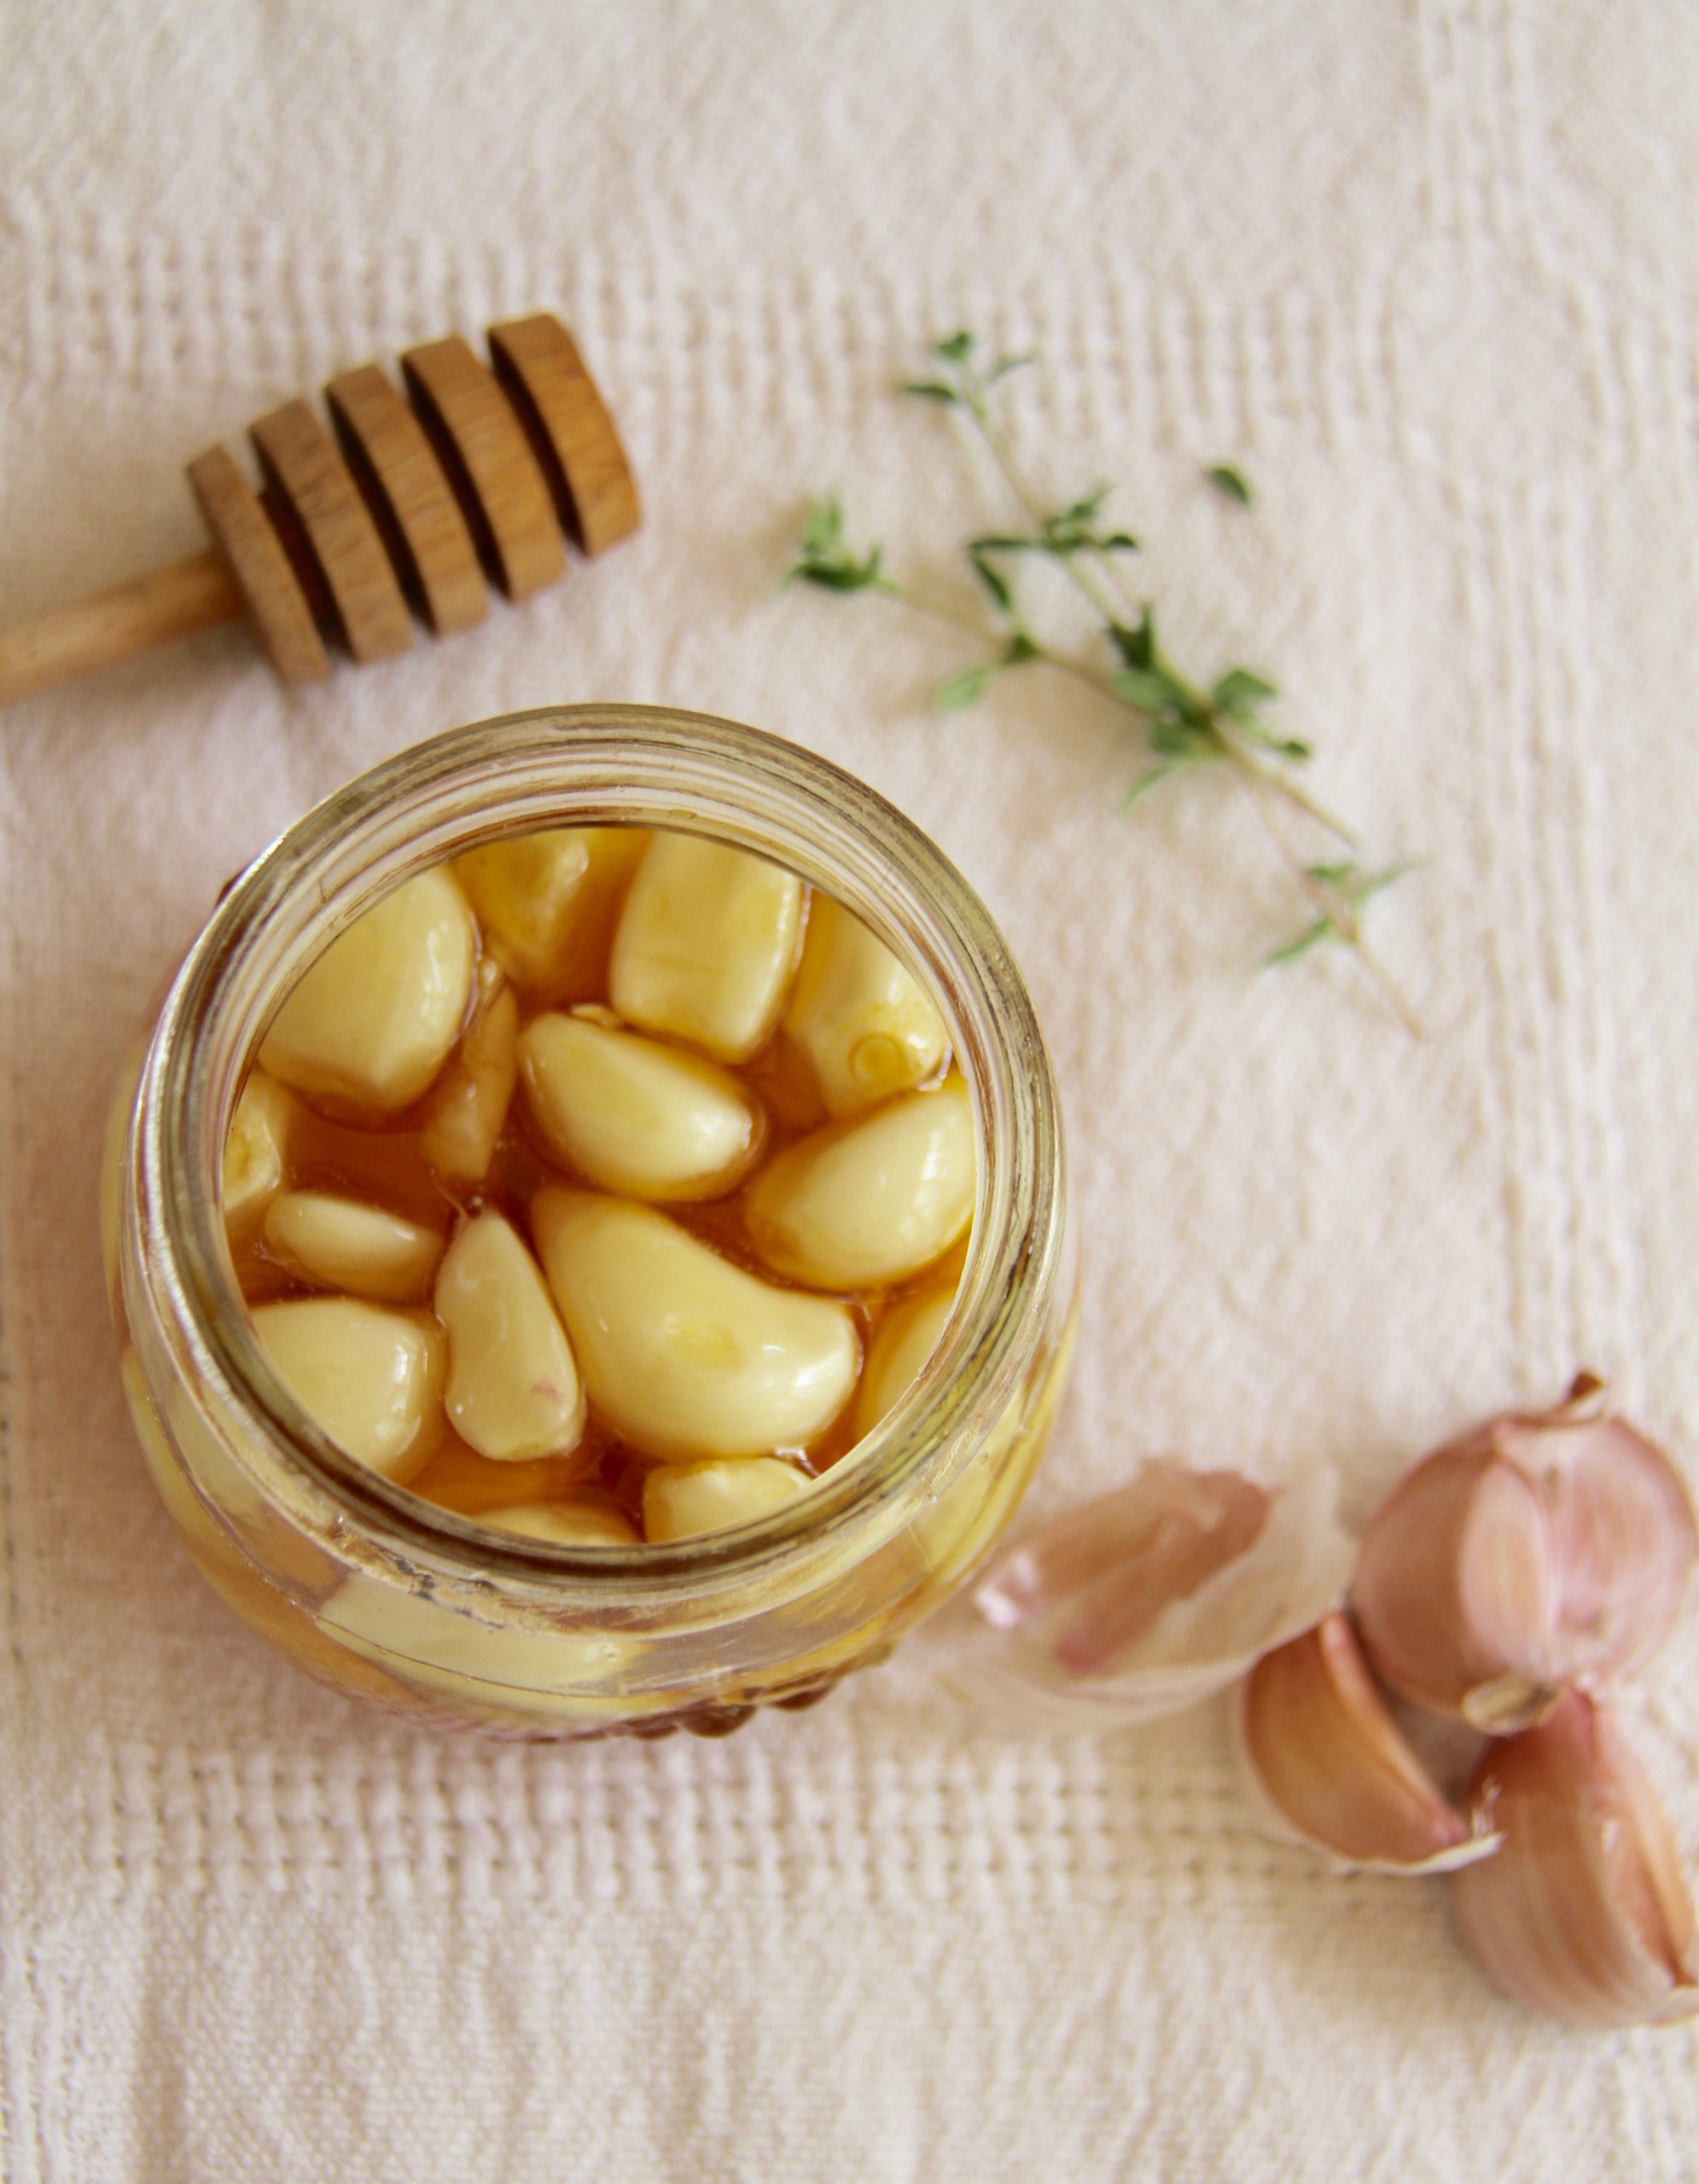
- Cover garlic cloves completely with honey while filling the jar approximately half full (as per above).
- Put lid on the jar and place on a plate (incase it overflows) at room temperature in a dark area e.g. in the cupboard. Keep sealed.
- Loosen the lid every 2 or 3 days to ‘burp’ i.e. release gas and prevent any explosions!
- The garlic cloves will ‘float’ for a week through to a month.
- Gently shake, turn up and down, every day or two to keep the garlic cloves covered in honey.
- After 2 – 3 weeks it’s ready to eat. Take a teaspoon of honey off the spoon or drizzled into food each day. The garlic can be eaten too & used in salads or as is. It’s very mild in taste. Stay well.
Notes;
- The honey may foam a little while fermenting and become more ‘watery’.
- Add a tsp of apple cider vinegar to help the fermentation process and eliminate any bugs that cause mould or disease.
- Add a small amount of cayenne pepper for extra goodness.
- 2 – 3 sprigs of oregano or thyme for even more goodness (although it will change the flavour & may be less palatable for kids)!
- If the ferment smells ‘really bad’ or looks mouldy, then trust your instinct. Generally you will know by the smell!


